Make a snowy screen on the LEGO EV3 display
LEGO EV3 RobotsIn EV3 programming, the Display block is used to display text or graphics on the EV3 Brick display. In this post, we show you how to use the Display block to make a snowy screen. The position, X and Y coordinates, of the snowy point is generated by using the Random block.
1. The drawing area of the EV3 Brick display
The EV3 Brick display uses X and Y coordinates to specify the drawing area. The drawing area is 178 pixels wide and 128 pixels high. The origin (0, 0) is at the upper left corner of the display.
2. Make a background screen
First, use one Display block to draw a rectangle and make it as the full size of the EV3 Brick display (width: 178, height: 128). We need to set the Clear Screen to True to clean the Brick display before drawing. In order to simulate the snowy scene, the rectangle is set to be filled with black color.
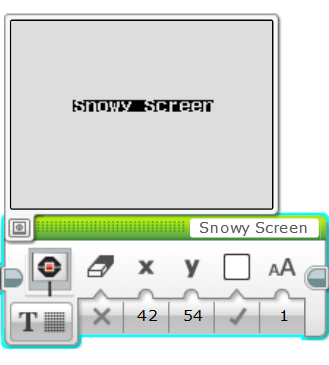
Then, use the other Display block to display a text "Snowy Screen" on top of the black rectangle. At this time, the Clear Screen is set to False. Since the rectangle that we drew is black, the text color in this Display block is set to white (the text will display in white on a black background).
3. Draw snowy points
Use two Random blocks to generate the X and Y coordinates for drawing white points on the Brick display. In the first Random block, we set the Lower Bound to 0 and set the Upper Bound to 177 because the X coordinate range is from 0 to 177. In the second Random block, according to the Y coordinate range (from 0 to 127), we set the Lower Bound to 0 and set the Upper Bound to 127. Their outputs are connected to a Display block's X and Y Inputs respectively. Then set this Display block to Shapes-Point mode for drawing a point. The drawing Color is set to white to simulate a snowy screen.
Put all these blocks inside a Loop block, so the random white points will be drawn until the Back button on the EV3 Brick is pressed. In order to make the point drawing a bit slower, a Wait block is added at the end of the Display block and its Waiting time is set to 0.01 second.
4. The result
The display result will look like as below.
For more details please refer to the youtube video.


